(click the picture for way more pictures from the patio project)
(home) (door opening) ( jack hammer 1) (jack hammer 2) (pouring 1) (pouring 2) (outside wall) (ceiling)
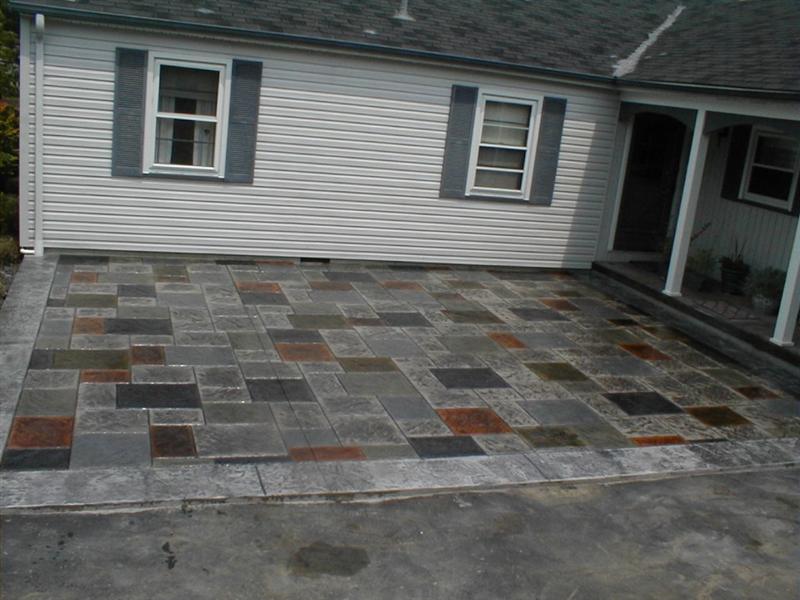
When we had our front patio redone this spring we went with decorative concrete. This is the process where you take perfectly good concrete and try to make it (mostly) look like hard to maintain fieldstone. This is apparently more pleasing to the eye. Or at least, that's what Laura likes about it. What _I_ like is that you don't need to mow it, weed it, or "much of anything else" it. Its not the cheapest thing in the world, but if something meets both my (normal) requirements and Laura's (deleted for the sake of my marriage) requirements, its worth some extra money.
(click the picture for way more pictures from the patio project)
Anyway, Joe Patterson (JP Decorative Concrete) did the patio. And, even though at the time I was planning on pouring the garage floor myself, Laura asked him for a ballpark cost on repouring the garage floor. I'm not entirely sure she trusted me to actually get around to work on the garage. Joe said he thought it'd be around $2500 or so just off the top of his head.
Also around that time, I helped a friend pour a floor in his shop. I'd never done concrete work before, and I figured giving him free labor in exchange for screwing up his floor instead of my own seemed like a decent trade to me. We all thought his floor came out pretty nice, but one thing I learned was that pouring concrete is darned hard work. We had four or five guys there and we all were working pretty hard basically all day long. I certainly wouldn't have wanted less guys to pour my floor.
Then, I calculated up how much of the various materials our garage floor was going to need and made some calls. We'd be around $1000 just in concrete and stone, and that didn't count anything like the metal interlocking slab separators we used on my buddy's garage to make screeding easier, the cost of various tools (trowels, rakes, shovels, bull float, and rental of a tamper and power trowel). In the end, I figured I might save about $1000 by pouring the floor myself vs. paying to have it done.
Fast forward to a few weeks ago. I'm behind schedule on the garage, I'm not sure I can get four or five guys who can come up to do the floor when we're all available and at a time they'll deliver concrete, and the weather is cold outside making pouring concrete a little more of an expert's game than it already is.
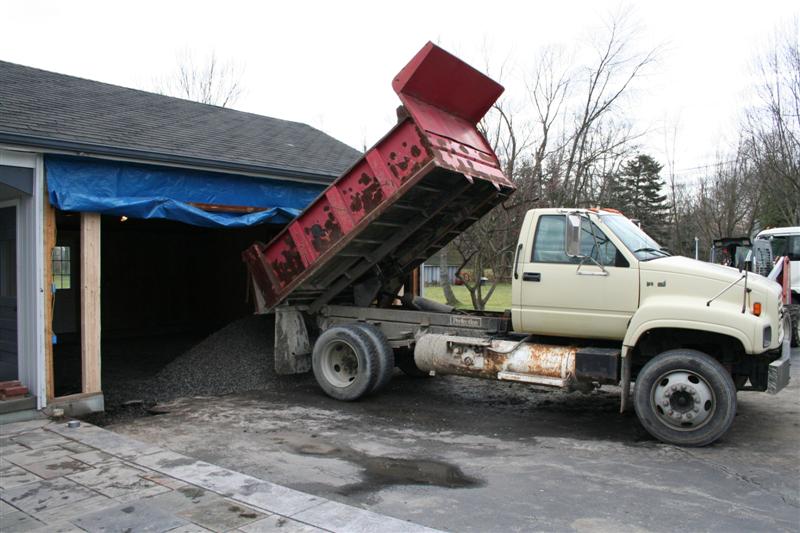
We called Joe. Joe wanted $3200 to remove the existing floor and pour a new 4" 4000psi (6.5 sack) floor with a new 6" stone base. Per the story so far, I busted up the floor myself instead, and Joe would charge me $200 to Bobcat out the chunks and haul them away, plus whatever disposal fee the dump wanted. On the "add more money" side, I decided to go with a 6" floor instead of a 4" since I might at some point want to put a 2 post vehicle lift in (it couldn't get the car to full height, but it'd certainly get it higher than jackstands, plus it could be used in the Garage Mahal) or because I might get a really heavy machine like a Bridgeport or whatever.
Ok, really I just thought 6" sounded better than 4", and it only added $250 to the price. Don't tell Laura. We also decided we'd want some type of approach ramp type thing up to the new floor.
Work began with removing the old floor chunks.
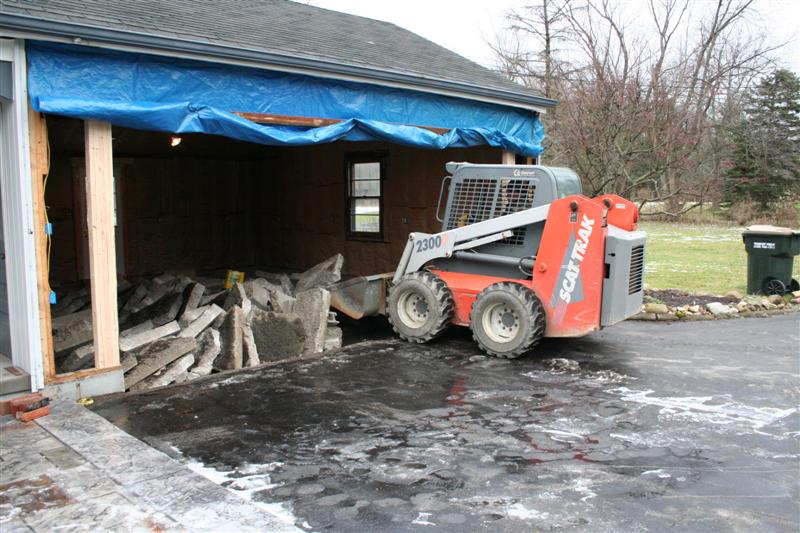
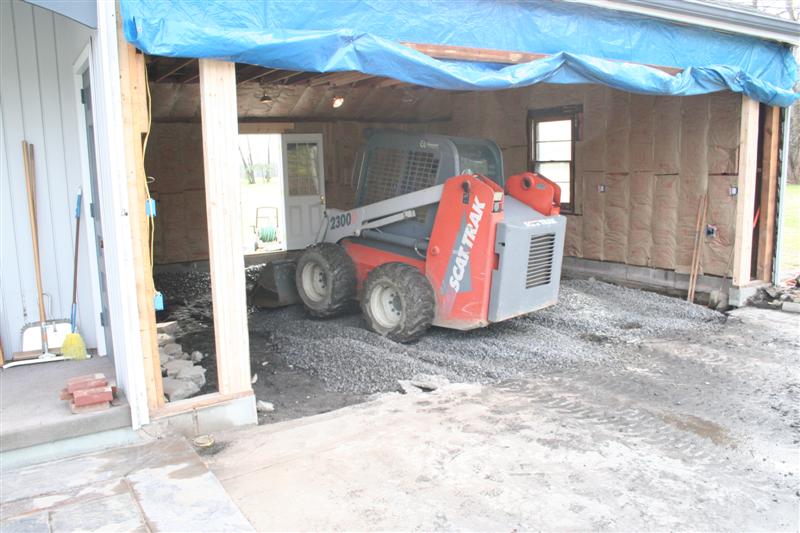
Bobcats are cool. I kept thinking I should ask Joe if I could drive the Bobcat, and kept not doing that because I was afraid of how he'd look at me... One of these days we're going to have a party for friends at the house and the entertainment is going to be renting a Bobcat and driving around digging stuff up.
On 2nd thought, maybe we'll do that at a party at _someone else's_ house.
Btw, I learned something about Bobcat wheels/tires... You only need air in three of the wheels. Joe had a slow leak around the valve stem in one of his wheels where he thought he'd hit something and pushed the valve stem back into the wheel, unseating it. So (with Joe's encouragement, I hasten to add), I got a valve stem puller tool to try and reseat the valve stem. I pulled on the valve stem a while, until it suddenly ripped. This made the slow leak into a "no really, I don't want all that air in here" leak. That was when Joe told me he'd had the tire guy put tubes in the tires... I don't think valve stems for tubes seat into a wheel like tubeless wheel valve stems normally do. Anyway, I felt kinda bad about this (even though it'd been leaking before, now there was _no_ air in the tire). Joe just sorta looked at me like I was a bit dense and proceeded to keep on using the Bobcat with only three tires having any air. Didn't seem to slow him down any.
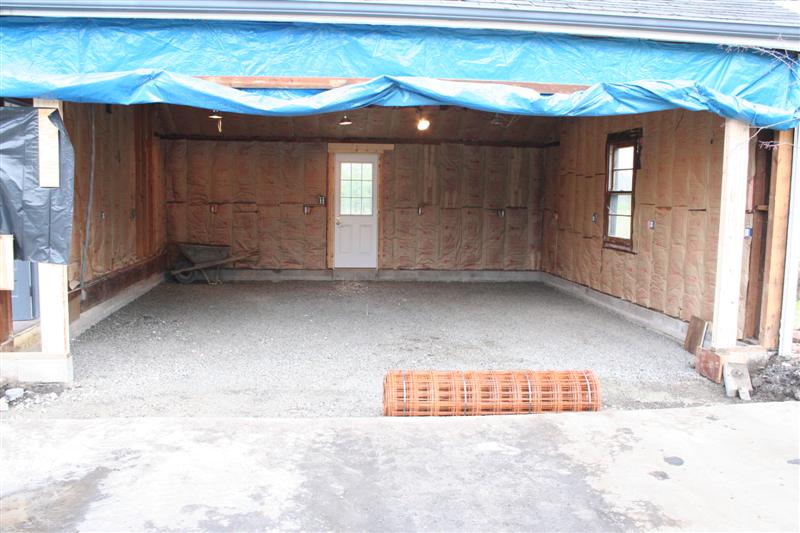
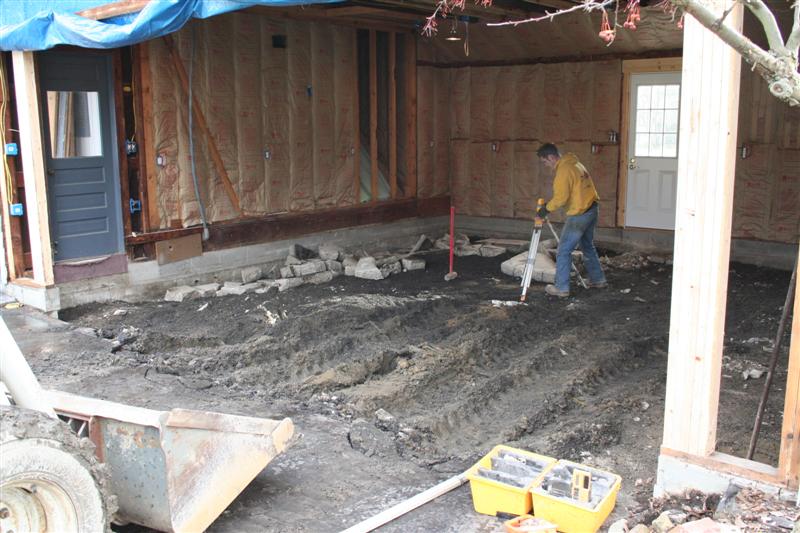
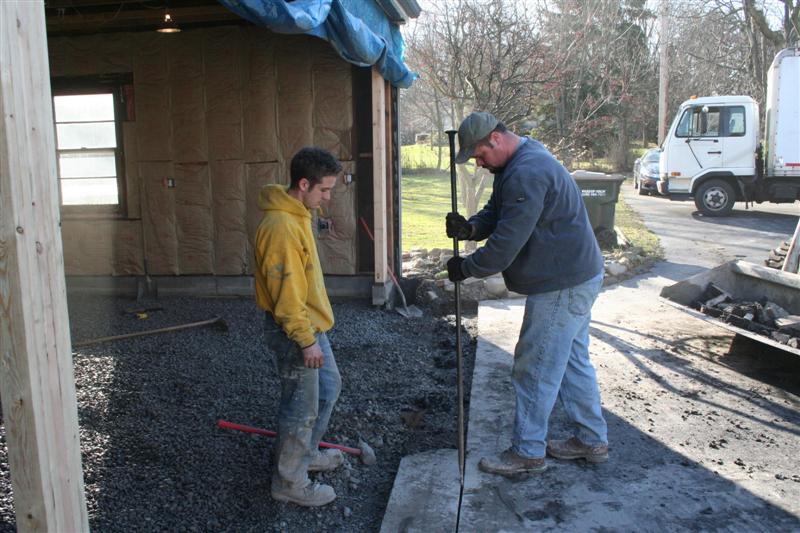
Anyway, next up on the floor, Mike (Joe's brother in law / only helper on this job) marked a line around on the block for the new floor level using the magic spinning laser thingy. We went with a flat floor, sloped toward the door as a nod to drainage for when the Garage Mahal is built and we're parking snow/rain covered vehicles in here. The back of the garage floor is 2" higher than the front.
Now add the stone base:
and cut the driveway asphalt for the new ramp:
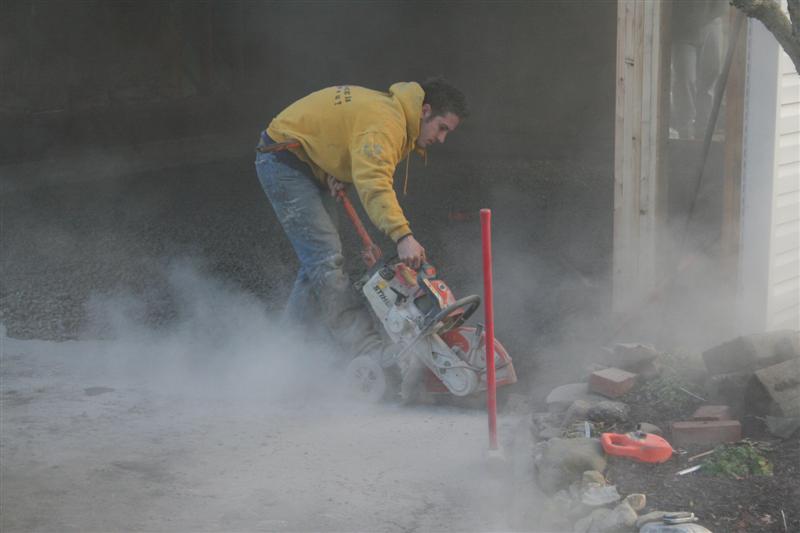
The amount of aphalt dust coming off the saw was just amazing. You can just see Joe's legs in that picture, watching from the back door of the garage (look through the 2x4). I'm thinking this is one of those cases where the boss's perogative gets exercised.
Here's Joe, tamping down the stone base:
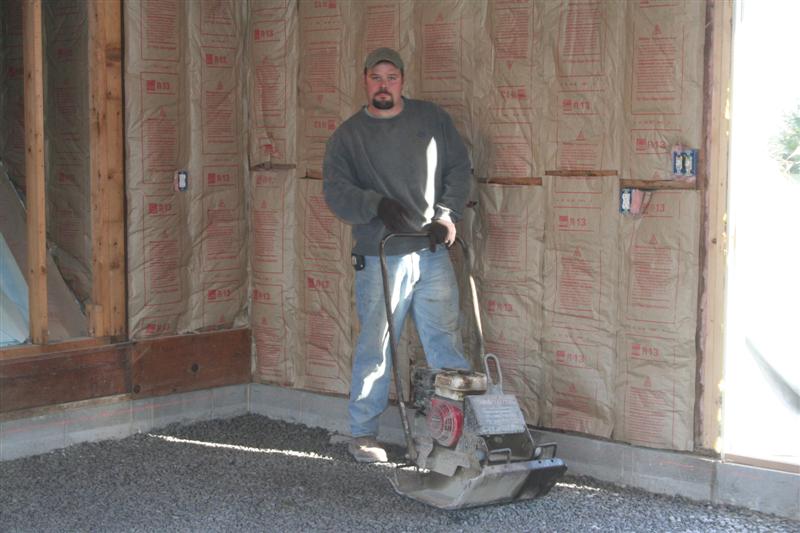
This is not the best picture I've ever taken. I've got to hand it to both Joe and Mike though, they never once grabbed a hunk of something and threw it at me while screaming "Knock it off with the camera already!", which is basically my nephew Ross's way of hinting to me that I should put down the camera.
Oh, did I mention that the quote above included $150 to fix up some block issues with the garage? It did.
They straighted out both "winglet" walls on either side of the garage door opening, pushed two migrating blocks back more into place on the wall farthest from the house, fixed a couple cracked/missing blocks, and sealed up the holes in the basement concrete where the old electrical service entered the house.
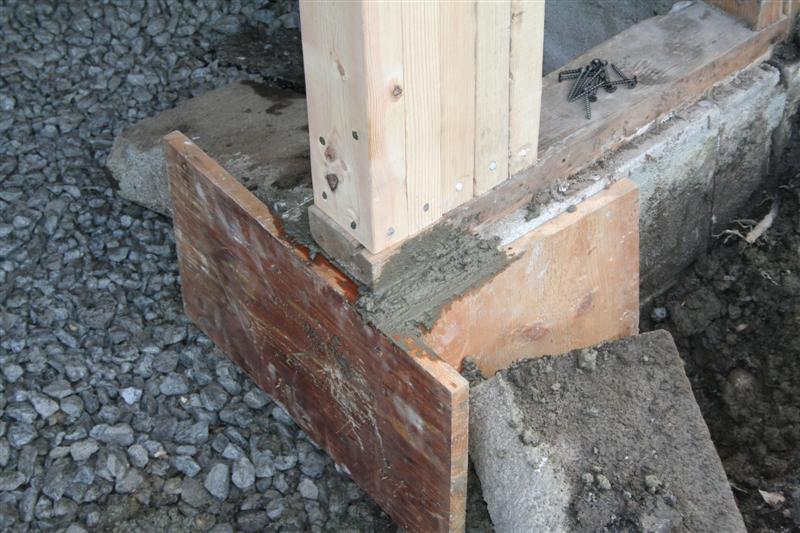
At the end of day one, the floor looked like this: